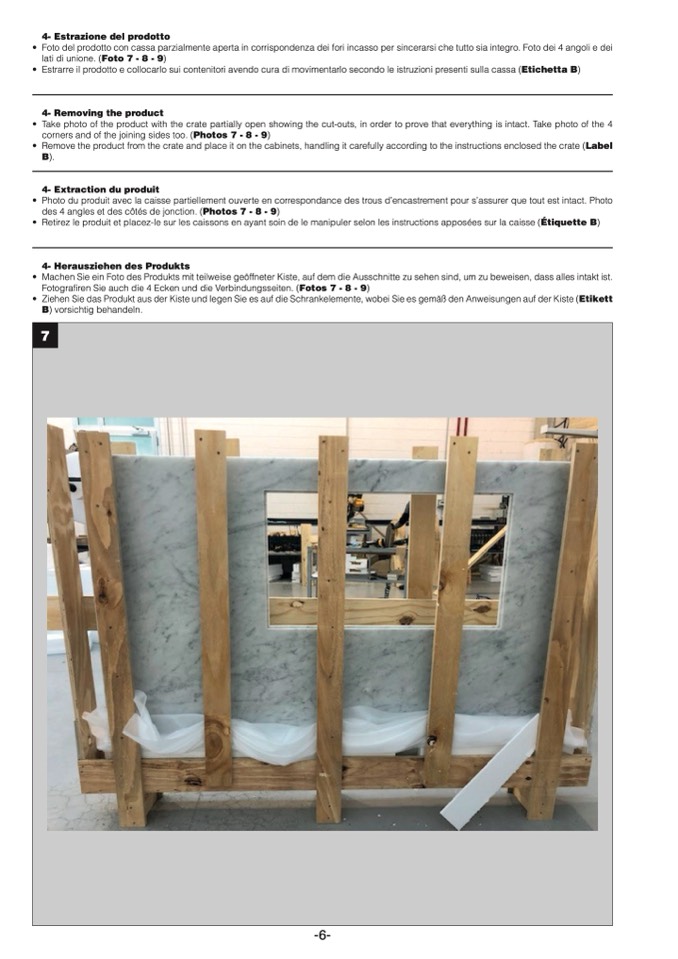
4- Estrazione del prodotto
• Foto del prodotto con cassa parzialmente aperta in corrispondenza dei fori incasso per sincerarsi che tutto sia integro. Foto dei 4 angoli e dei
lati di unione. (Foto 7 - 8 - 9)
• Estrarre il prodotto e collocarlo sui contenitori avendo cura di movimentarlo secondo le istruzioni presenti sulla cassa (Etichetta B)
4- Removing the product
• Take photo of the product with the crate partially open showing the cut-outs, in order to prove that everything is intact. Take photo of the 4
corners and of the joining sides too. (Photos 7 - 8 - 9)
• Remove the product from the crate and place it on the cabinets, handling it carefully according to the instructions enclosed the crate (Label
B).
4- Extraction du produit
• Photo du produit avec la caisse partiellement ouverte en correspondance des trous d’encastrement pour s’assurer que tout est intact. Photo
des 4 angles et des côtés de jonction. (Photos 7 - 8 - 9)
• Retirez le produit et placez-le sur les caissons en ayant soin de le manipuler selon les instructions appos
ées sur la caisse (Étiquette B)
4- Herausziehen des Produkts
• Machen Sie ein Foto des Produkts mit teilweise geöffneter Kiste, auf dem die Ausschnitte zu sehen sind, um zu beweisen, dass alles intakt ist.
Fotografiren Sie auch die 4 Ecken und die Verbindungsseiten. (Fotos 7 - 8 - 9)
• Ziehen Sie das Produkt aus der Kiste und legen Sie es auf die Schrankelemente, wobei Sie es gemäß den Anweisungen auf der Kiste (Etikett
B) vorsichtig behandeln.
7
-6-

